One of our earliest site visits at EMF Protection was to a family who could see three cell towers from their bedroom window. Their Wi-Fi was off and phones were on airplane mode, yet their disturbed sleep persisted, which tracks with research showing pulsed radiofrequency fields can alter sleep EEG patterns. The fix wasn’t moving furniture. It was a single layer of conductive EMF shielding paint on two exterior walls, properly grounded and topcoated. On an EMF reader, the RF peaks dropped to a fraction of what they’d been.
That pattern has repeated since 2004. For targeted EMF protection at home or work, shielding paints are one of the most practical, measurable ways to reduce incoming RF from cell towers and smart meters and to control low frequency electric fields when grounded correctly.
Below we’ll cover how these products work, how to apply EMF paint step by step, and which options we carry, plus where paint fits into a full-room strategy with fabrics, canopies, and glass.
How Does EMF Shielding Paint Work?
Standard interior paint is decorative. EMF shielding paints are different. They contain conductive carbon and graphite that, once dry, create a continuous, conductive layer across your walls and ceilings. That layer reflects and attenuates RF signals from sources like Wi-Fi, 5G, and cell towers, and when you add proper grounding, it also tames low frequency electric fields from mains wiring. In practice, this turns the treated surface into part of a room-scale faraday cage, where a continuous conductor shields the interior from external electromagnetic radiation.
Think in two bands:
RF and high frequency radiation (HF): Paints provide HF shielding by blocking airborne RF. Manufacturer specs commonly list around 39 dB attenuation with a single thin coat and higher with two.
Low frequency electric fields: Grounding the conductive layer diverts induced charges safely, reducing hum and electromagnetic interference from nearby wiring and devices.
Well-engineered shielding paints are typically water-based and solvent-free, which keeps application easy and odor low, and they adhere to many surfaces when properly primed. Most dry to a matte black, and you can apply standard color coats on top without hurting performance.
Testing tip: for RF, a broadband meter is ideal. The Trifield meter and Trifield TF2 are versatile for electric and magnetic fields and tri-mode surveys, but for quantifying decibel attenuation, pair them with a dedicated RF EMF meter if you can. We routinely start with a trifield meter or another EMF reader to map hotspots, then confirm the results after each coat. After two decades of doing this, we’ve learned that measuring before and after is what separates a guess from a genuine fix.
EMF Shielding Effectiveness
The more continuous and conductive the layer, the better the EMF shielding effectiveness. Manufacturers are explicit that you must apply the paint at equal thickness and ensure full-faced coverage, never skipping areas, to achieve constant high attenuation. Gaps at sockets, unpainted corners, or ungrounded seams can leak. Two key factors you control:
Cohesive coverage: Overlap your passes and seal edges so RF can’t sneak through cracks. Where walls bridge cracks or transitions, use conductive tape
Grounding: For low frequency electric fields, correct grounding is non-negotiable. The conductive surface must be bonded into the building’s protective equipotential system to be effective against electric fields.
Applying EMF Shielding Paint
Application is straightforward if you plan ahead. Some customers hire a painter and a licensed electrician, while others follow our DIY EMF shielding painting video. Either way, the step-by-step is the same.
How To Apply EMF Paint
Plan the layout: Map the RF path with an EMF meter. Treat the exterior-facing wall first, then adjacent walls if the signals wrap around. Include ceilings when sources are above you, such as rooftop antennas or upstairs routers.
Prepare surfaces: Clean, degloss, and spot-fill cracks. On plaster, sand lightly and dust off. Prime with a compatible, low emission, non-oil primer to help the paint adhere to many surfaces.
Install grounding hardware: Fit grounding tape around perimeters and a grounding plate near an outlet. This is part of the installation, and the final connection should follow local codes. We offer a complete grounding kit with the core components an electrician will expect.
Mix thoroughly: Conductive paints settle. Follow the mixing directions, then stir again. If you pause for more than 10 minutes, stir again. Good mixing equals even performance.
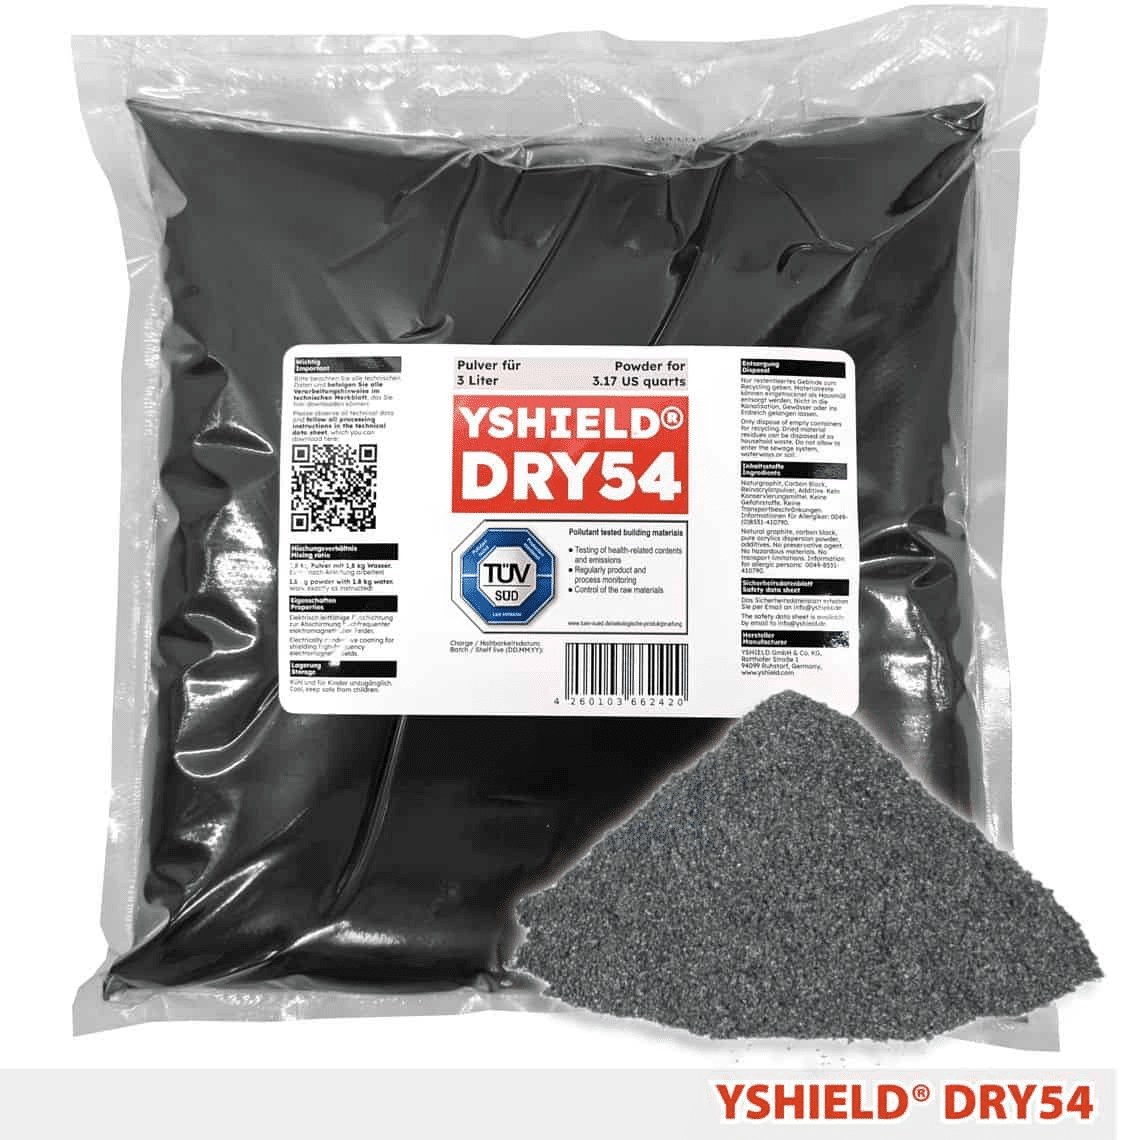
Apply with a roller or sprayer: Use a tight-nap roller for an even coat, or a sprayer for large areas. Most projects start with a single layer, then test, and add a second coat if needed. The coverage for YSHIELD DRY54 is about 7.5m^2 per liter, and you’ll want a denser application for maximum shielding.
Let it dry, then topcoat: After your shielding coat or coats, connect and verify grounding, then finish with standard decorative paint. The black layer applies to the wall, so you’ll likely want two topcoats of regular latex to fully cover it, and topcoats do not reduce shielding.
Safety note: Because the layer is conductive, correct grounding is essential and must be connected by a licensed electrician under local regulations. This keeps the system both safe and effective.
Grounding, Testing, and Installation Checks
Grounding kit: Use a grounding kit compatible with your region. Many customers manage with one grounding kit per room, or one per 1,000 sq ft of surface.
Testing after each coat: Re-scan with your Trifield TF2 or other EMF meter after the first coat. If RF is still elevated from the target side, add a second coat. For low frequency electric fields, test again after grounding is connected.
Seams, sockets, and edges: RF leaks love edges. Overlap your tape and paint so the conductive layer stays continuous. Shielding fleeces can help bridge cracks and tricky transitions.
Interior vs exterior: DRY54 is rated for both interior and exterior use and are frost resistant.
Good news for decorators: you can paint over the shielding layer with standard color coats. It’s common to apply two standard coats after the shielding layer. That keeps rooms bright while the EMF shield does the silent work underneath.
Where To Find the Best EMF Shielding Paint
As EMF specialists since 2004, we only stock quality EMF paint with measurable performance and clear data sheets. We carry YSHIELD because they’re consistent, water-based, and easy to apply. You can check our EMF shielding paint range any time, and our team can advise on EMF protection for your home project by email before you buy. If you prefer to do it yourself, here’s a quick comparison of the standouts customers ask us about most.
Here’s how we help a customer decide between options for EMF protection at home or in the office:
Urban apartment with rooftop antennas: Start on the ceiling and the wall facing the primary RF source. Add a second coat if your EMF meter still shows peaks. For windows, consider EMF protected glass or film to complement the wall system.
Detached house near cell towers: Two coats on the tower-facing wall often outperform a single heavy coat. Exterior applications can help too, and many products list exterior suitability and are frost
Townhome beside smart meters: Treat the shared wall and ground it thoroughly. If the meter banks are in an underground garage, RF can still travel through construction, so test and extend coverage if needed.
Special rooms: For studios and sensitive equipment, electromagnetic interference control may require broader coverage and careful grounding layouts.
When you are ready to purchase, have a grounding kit on the order. Our complete grounding kit is designed to make it easy for your electrician to finish the job to code.
Benefits of EMF Protection With Shielding Paints
Targeted RF reduction: Attenuate Wi-Fi and RF from nearby towers right where you sleep or work, addressing the rooms that matter most.
Low frequency control: With proper grounding, the conductive layer reduces low frequency electric fields from wiring within walls.
Layering with other solutions: Combine with EMF blocking fabric, faraday fabric, an EMF canopy over the bed, or EMF clothing for personal and room-scale coverage to reduce EMF exposure.
Decor-friendly: The shielding layer hides under standard topcoats, so your design stays intact.
Safe and water-based: Solvent-free and designed for safe interior use.
Your Next Steps
Measure with a trifield meter or similar EMF reader to locate RF and electric and magnetic fields.
Pick a quality EMF paint from our EMF shielding paint page and add a compatible grounding kit.
Topcoat, re-test, and if needed, add a second coat for more shielding performance.
Closing Thoughts
Ready to start? Add your preferred EMF paint and a grounding kit to your cart. If you need guidance on EMF paint availability, compatibility with substrates, or how to integrate fabrics and canopies, message us. We’ll help you choose, carry your order across the finish line, and keep the whole process safe, simple, and effective.
If you have further questions, contact us. We are a family-run business with extensive experience in this field. We are committed to providing excellent service and support – check out our ‘Great’ TrustPilot rating.
FAQs
How long does EMF shielding paint take to dry?
Most water-based shielding paints are touch-dry within a few hours and ready for a second coat or topcoat after about 12 to 24 hours. Always confirm grounding is connected before you apply your decorative coats.
Will the paint block my own Wi-Fi or cell signal inside the room?
It can. Because the conductive layer attenuates RF in both directions, treating all the walls and ceiling may weaken indoor Wi-Fi and phone reception. Most customers shield only the wall facing the RF source, which protects sleep and work areas while keeping signal usable.
Does shielding paint interfere with smart home devices?
Only if those devices rely on wireless signals passing through a treated surface. Wired devices are unaffected, and partial-wall shielding usually leaves enough coverage for smart home gear to work normally.